

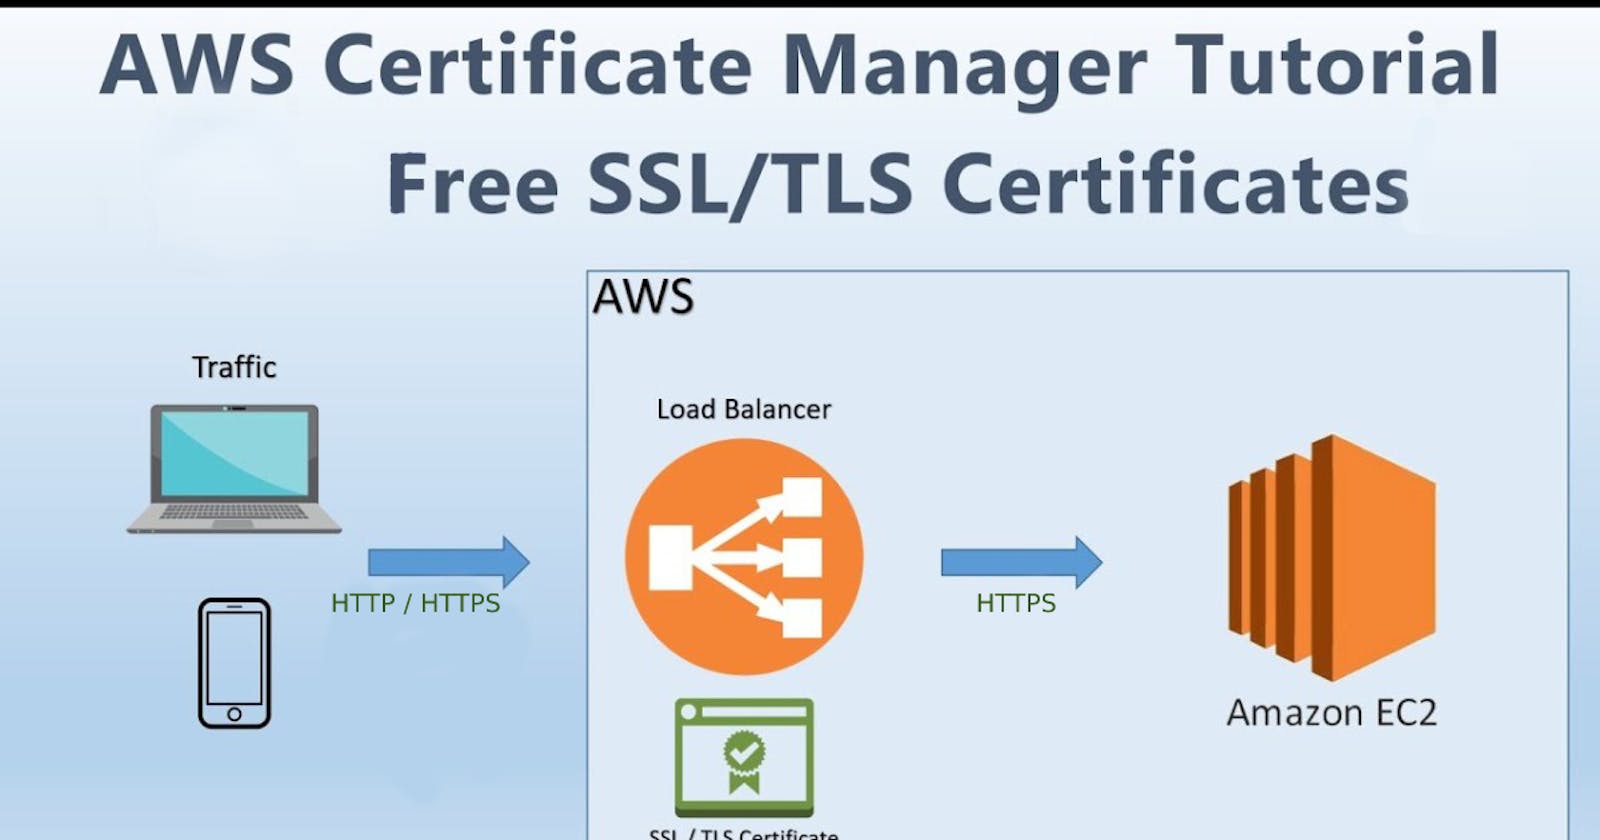
Demonstration of AWS Certificate Manager with Elastic Load Balancer and Route 53.


AWS Certificate Manager (ACM): Elastic Load Balancing, Amazon CloudFront, Amazon API Gateway, and other integrated AWS services are used to install ACM certificates. The most common application for this type is a secure public website with high traffic demands. ACM also facilitates security administration by automating certificate renewal. It enhances the overall performance, reliability, and fault tolerance of applications deployed in AWS environments. Route 53 is used for managing DNS configurations and domain settings. It provides a powerful API that allows users to programmatically automate DNS management tasks.
Prerequisite
Before proceeding with ACM please make sure you have a domain name.
you should be able to create an EC2 Instance (if you don't know, you can read my blog click here)
Let's begin the Demonstration
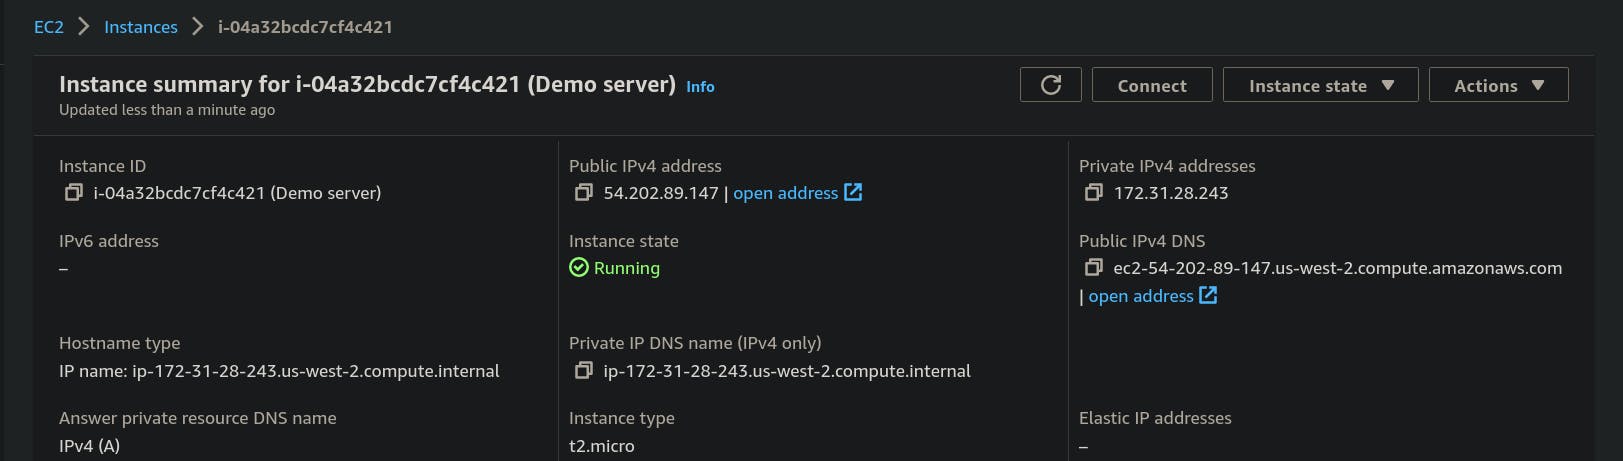
Step 1: You need to create an EC2 instance that contains user data. If you don't know you can read out my blog. For now, we have created an instance named "Demo server".

- copy and paste the public IPv4 address in the browser.
- you can see the website being hosted
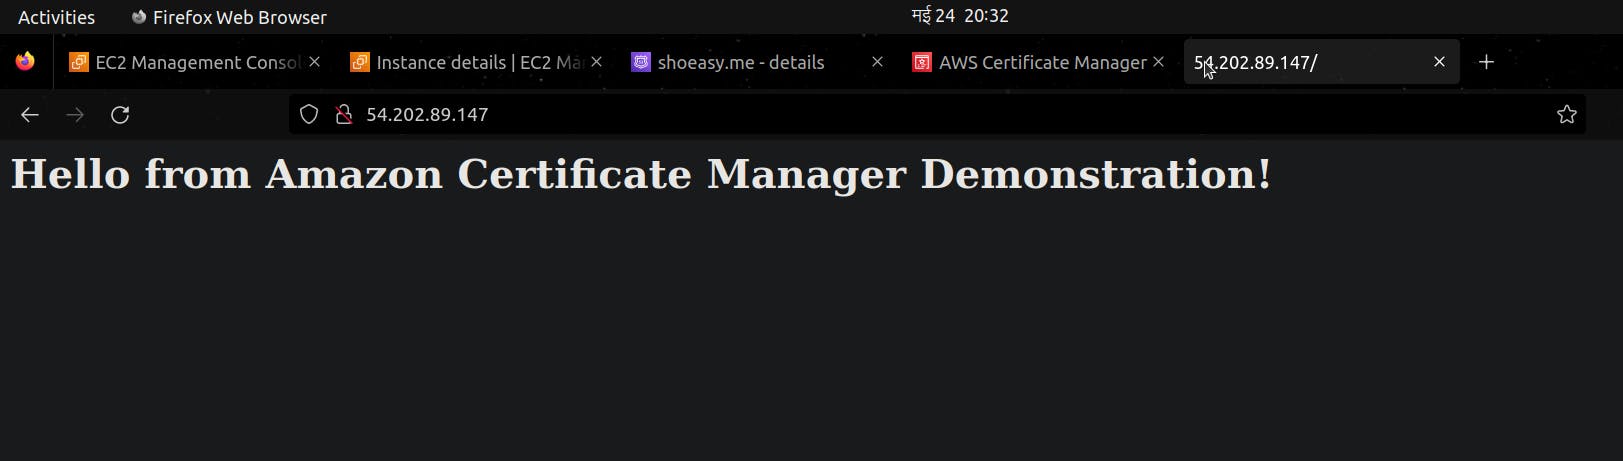
- but it's not secure you can see that "connection not secure"

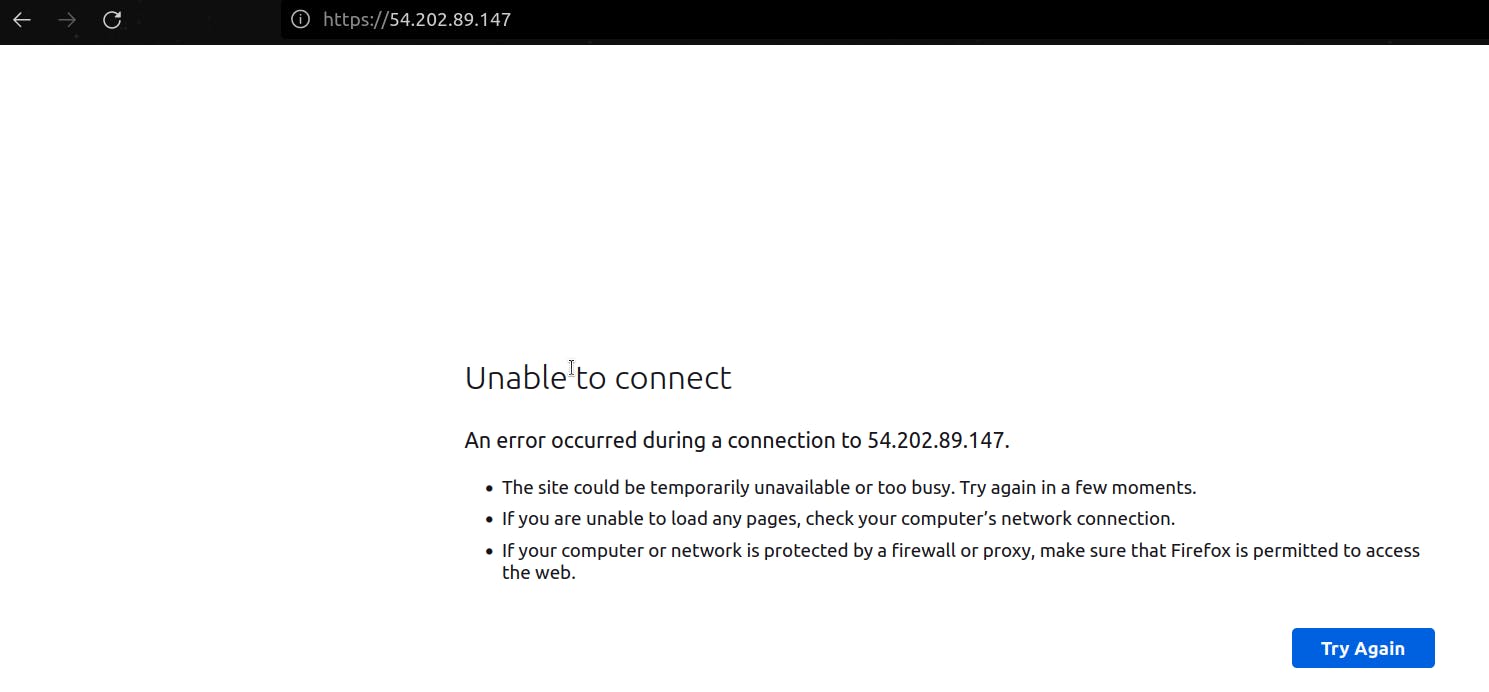
- so, when we try to put the https:// for the secure connection it says unable to connect.
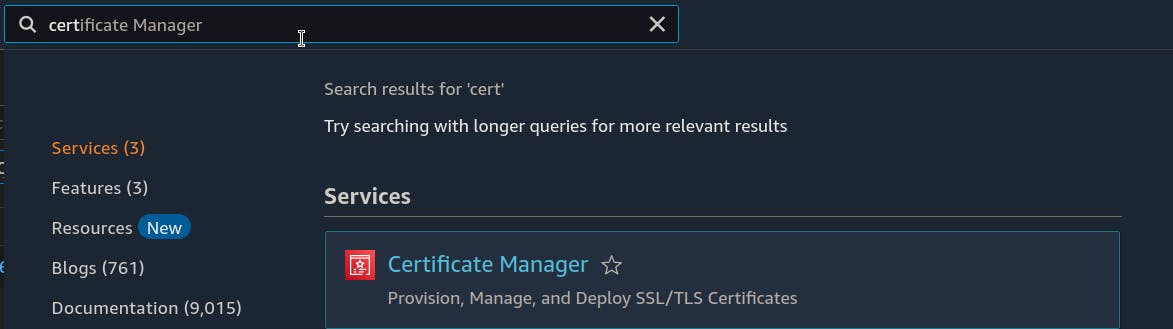
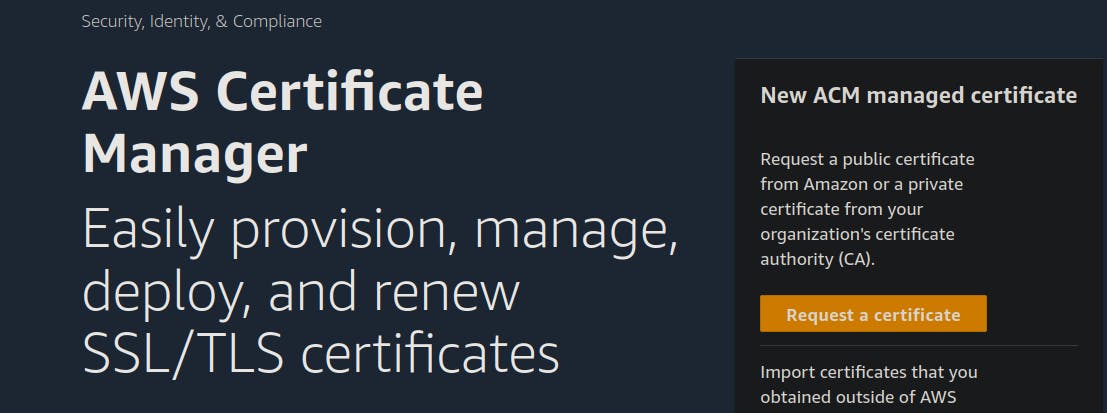
Step 2: On the management console search for Certificate Manager and click on it.
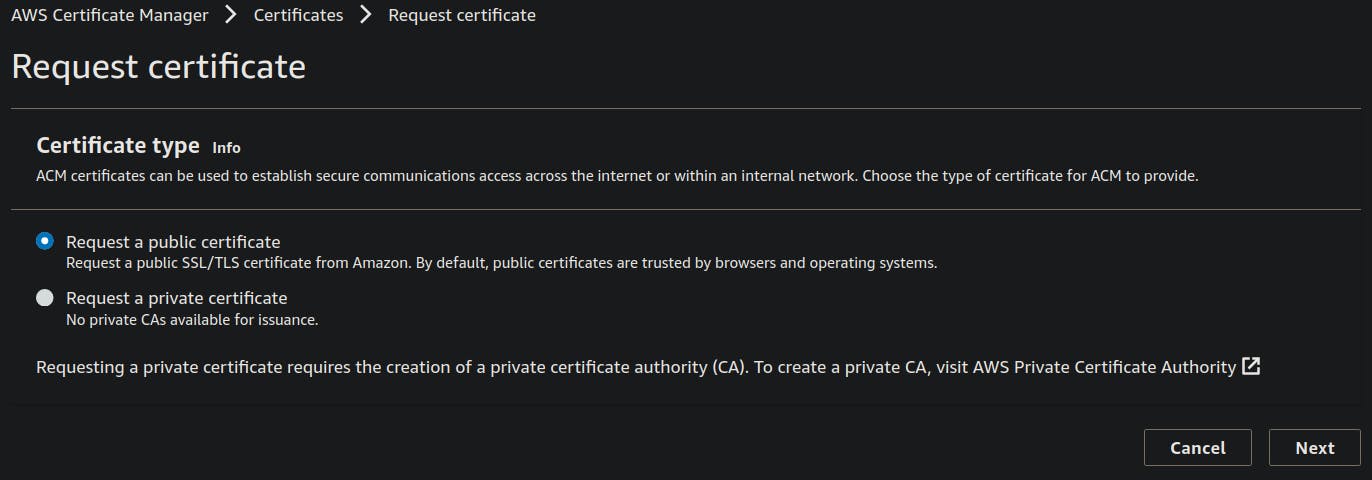
- now select the "Request a certificate" button.
- under the Certificate type choose Request a public certificate and click on Next
Step 3: Under the Domain names give a domain name or sub-domain that you want the users to use for accessing the website and choose the DNS validation,

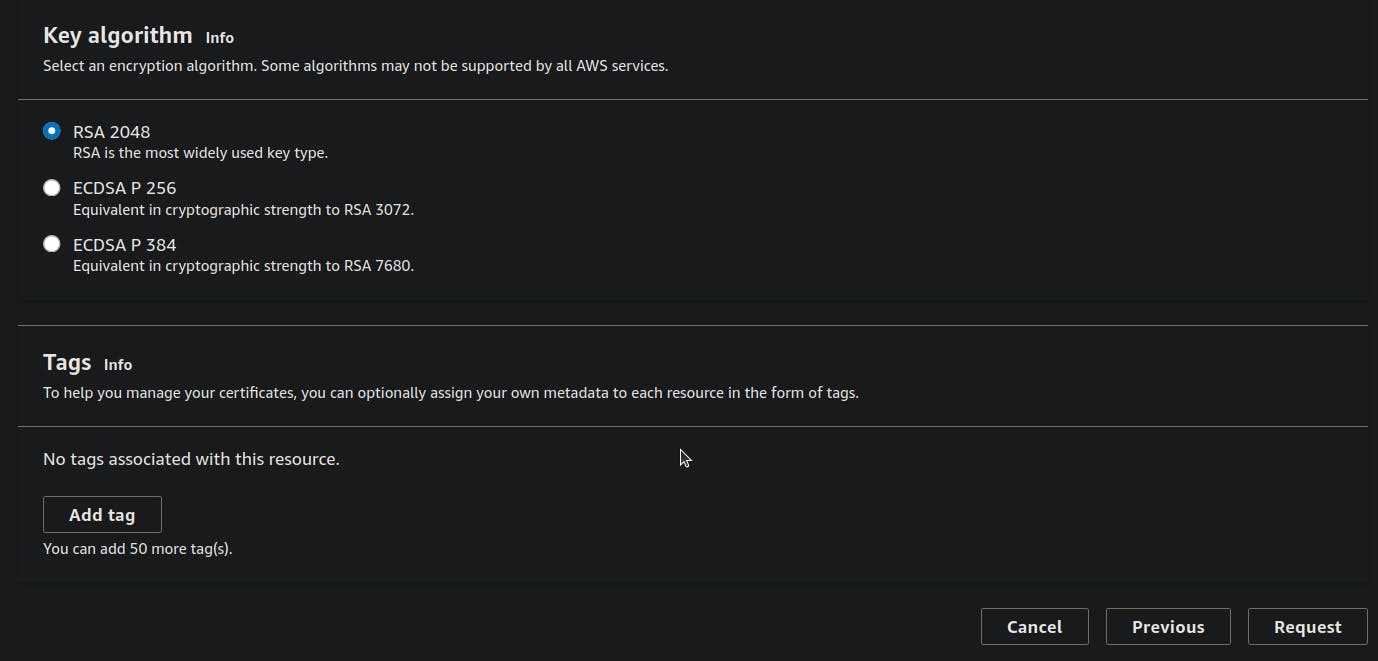
- leave the Key algorithm as default and click on the Request button.
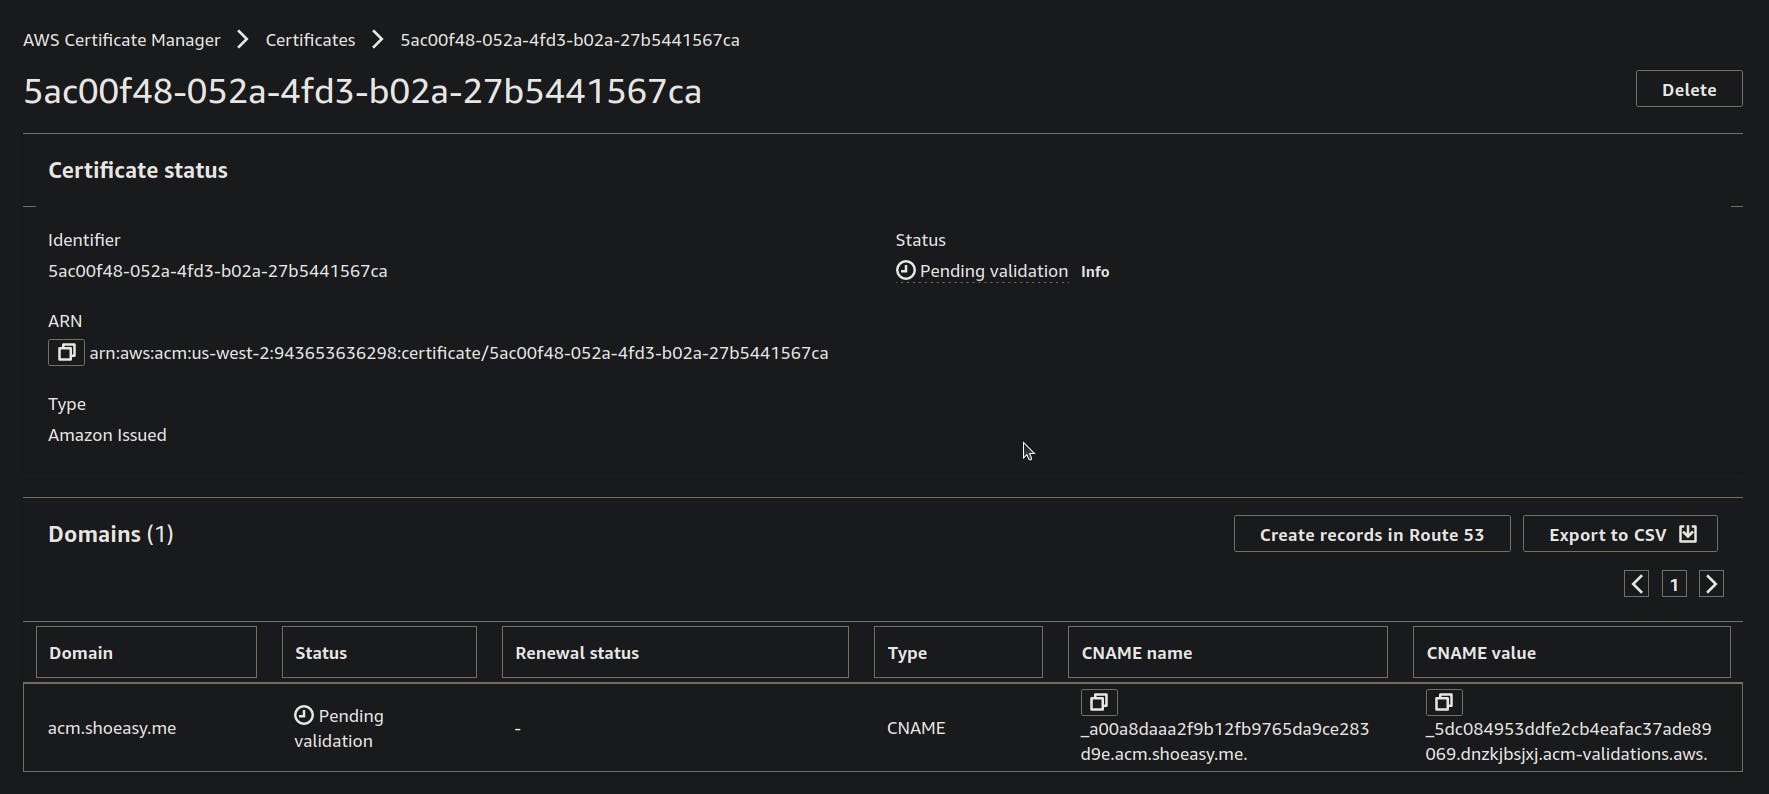
Step 4: You can see that Domains(1) but the status is Pending and under the right side you can see the "Create records in Route53" Click on it.
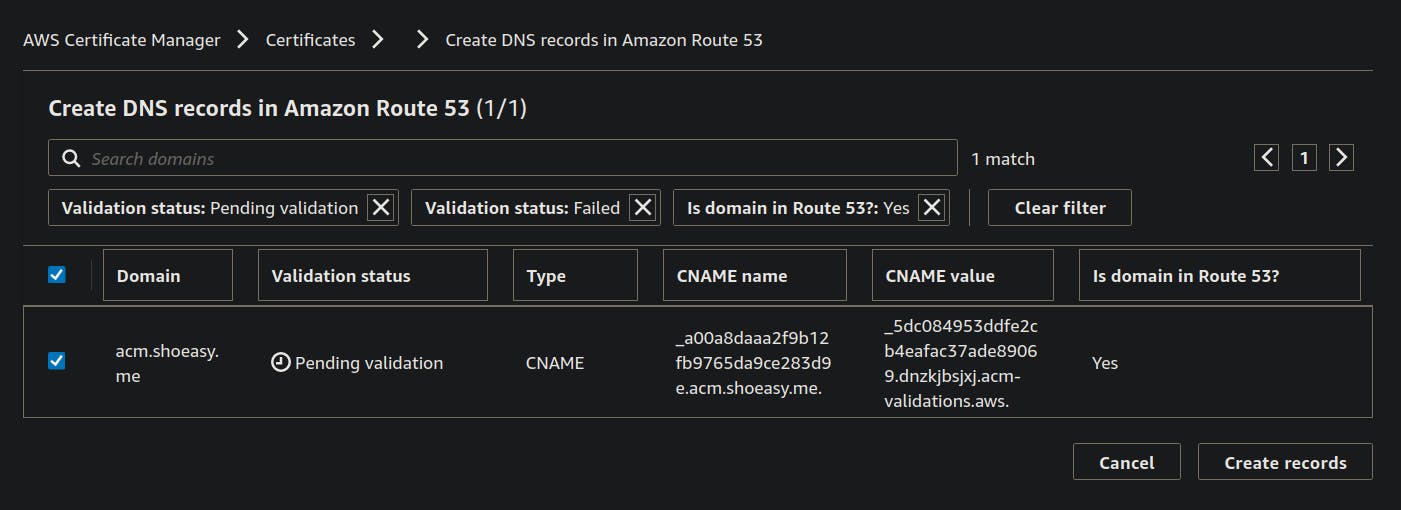
- Now select the Domain on the blue checkbox and click on Create records.
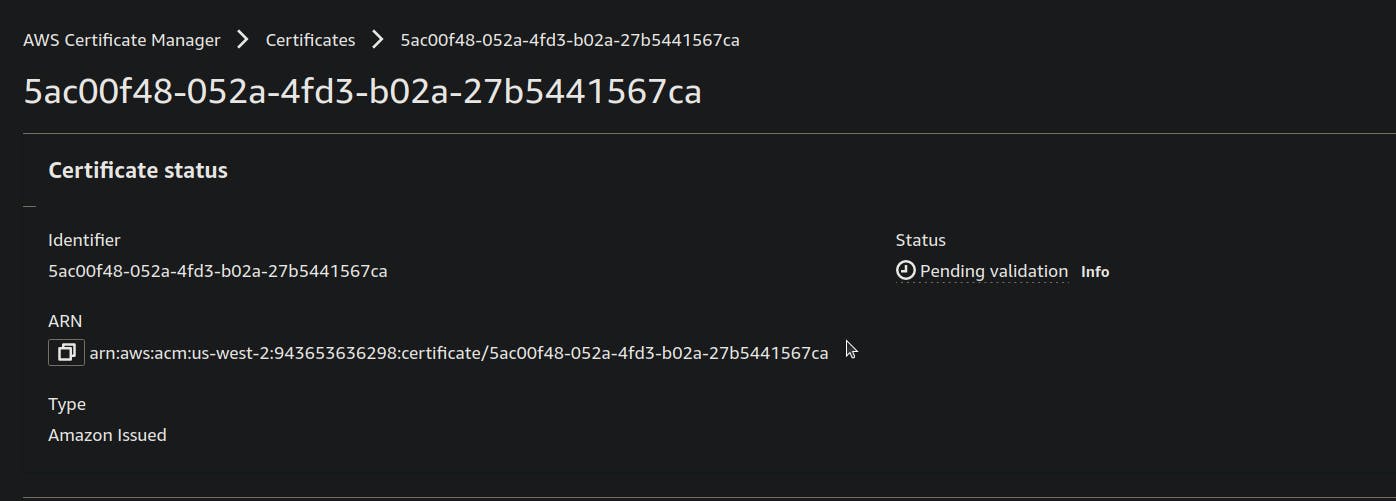
- You can see that the Status of the Certificate is Pending Validation wait for a few minutes.
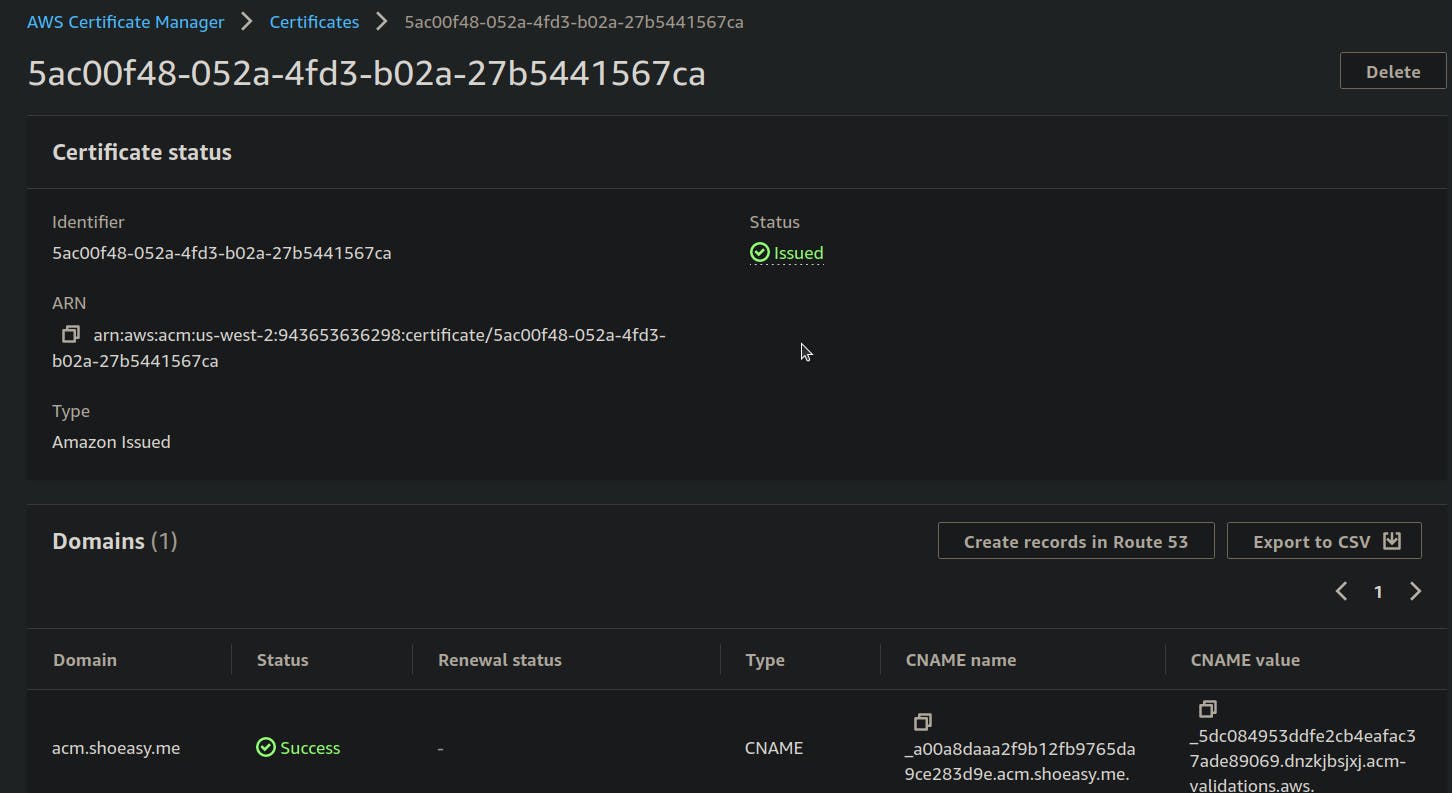
- Now the status of the Certificate is changed to Issued and you can see that the domain status is "Sucess".
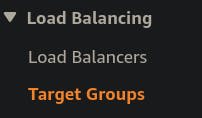
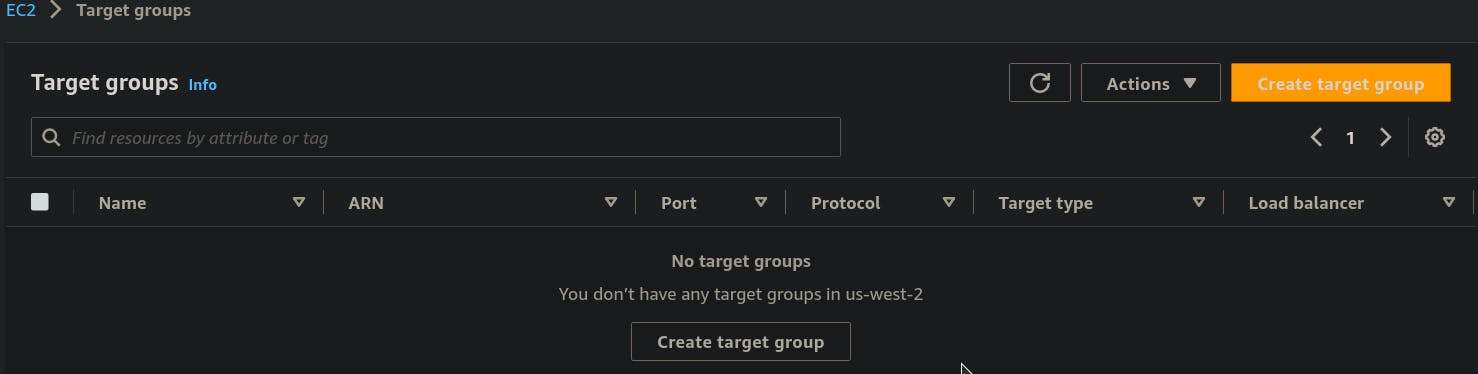
Step 5: Now, under the Dashboard of EC2 select the Target Groups.
- click on the Create target group
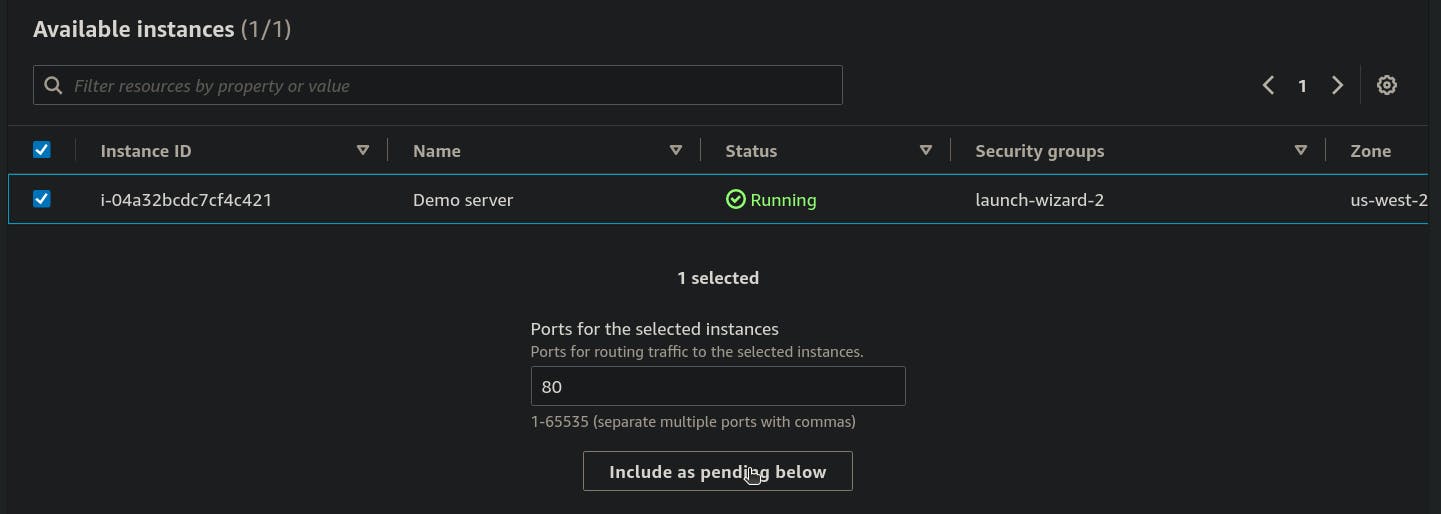
Step 6: Leave everything as default (choose target type Instance ) and give a target name for now we give it "acm-demo-TG" After that you will see the following window.
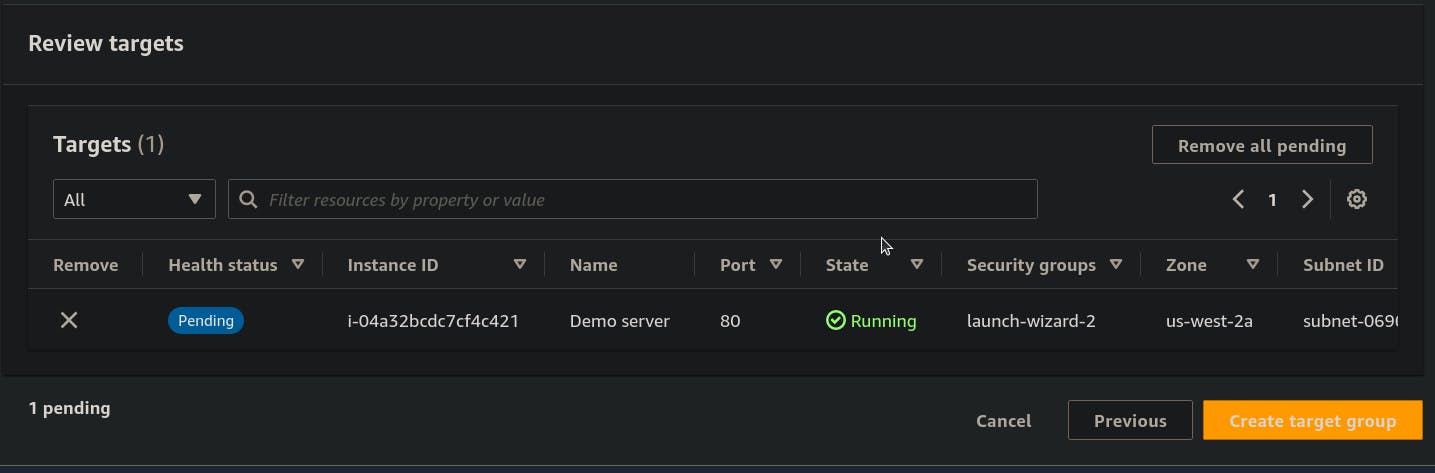
- now select the Instance ID on the checkbox and Include it as pending below.
- now Click on the Create target group.
Step 7: From the Dashboard of EC2 click on Load Balancers.
- Choose the Application Load Balancer and Click on Create.

Step 8: Under Basic configuration give a Load balancer name for now say "acm-demo-alb" and leave others default like Scheme: Internet-facing and Ip address type:IPv4
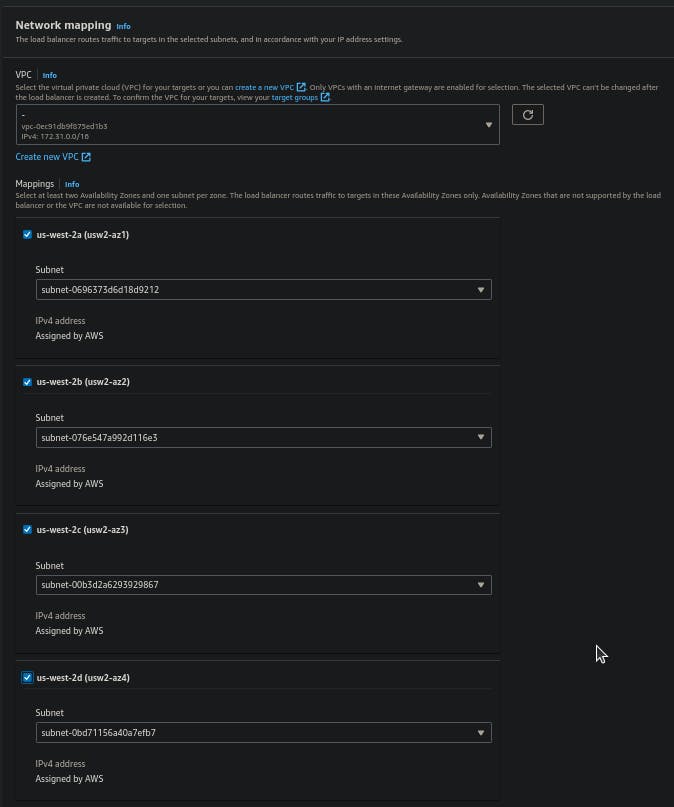
- Under the Network mapping choose different availability zones
- From the Security groups choose the group created while launching the EC2 instance.

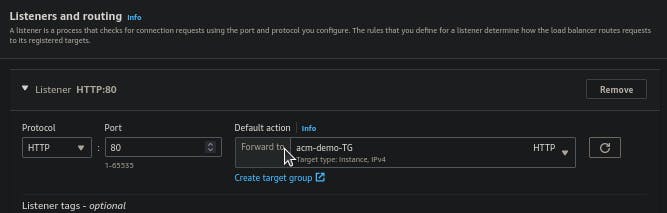
- Under the Listeners and routing choose Forward to of Default action and select the Target Group created for now we select the "acm-demo-TG".
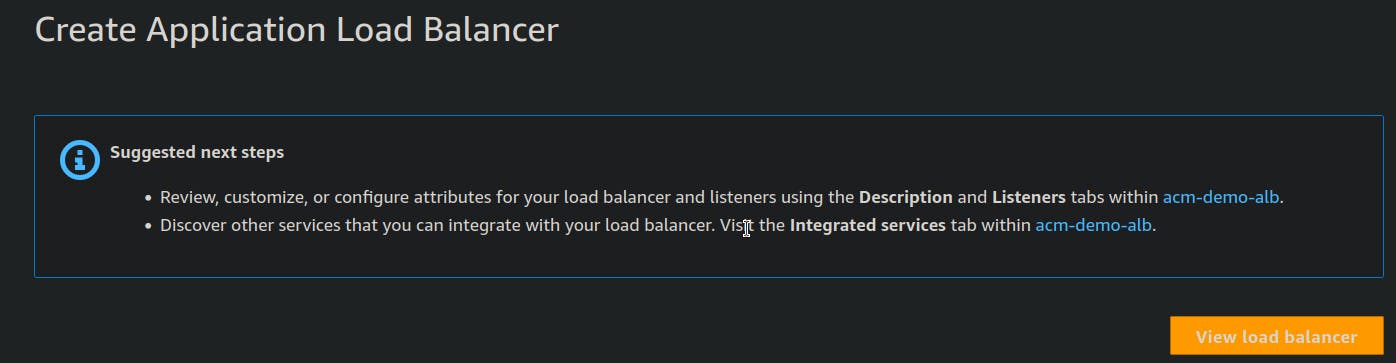
- After you save, click on View load balancer.
- As you can see that our load balancers is on provisioning State wait for few minutes
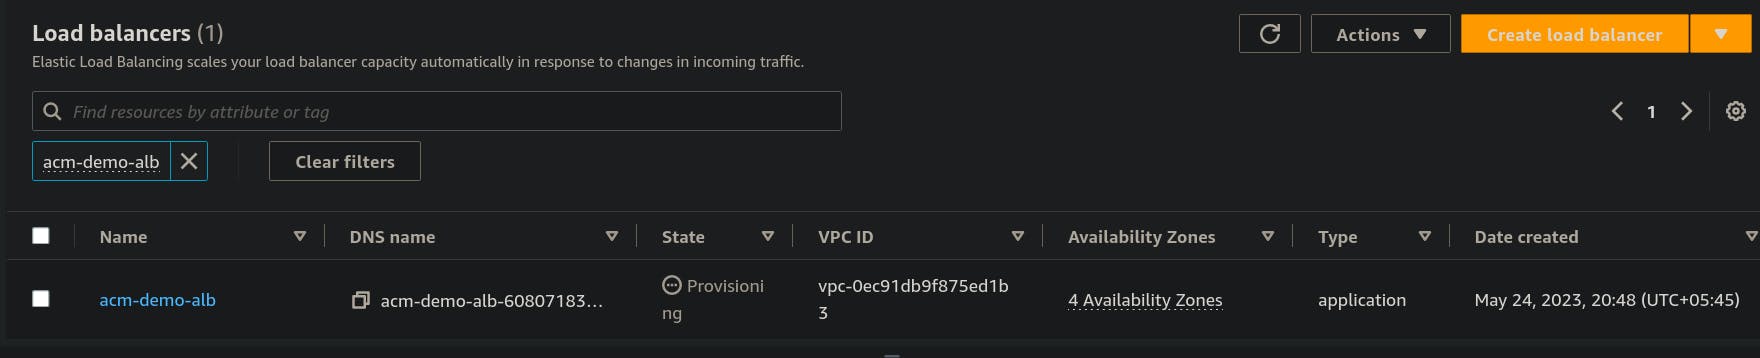
- now you can see it's in Active state

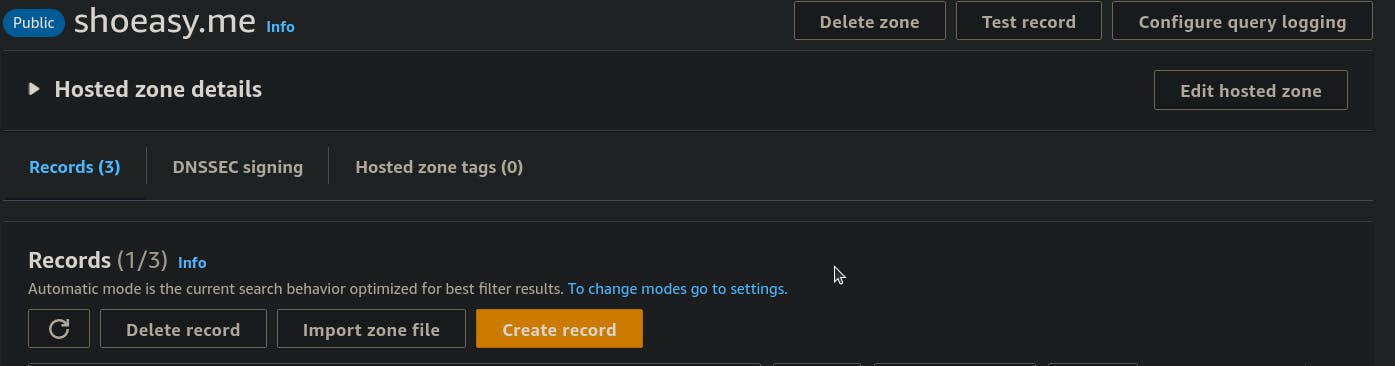
Step 9: Now under the Hosted zone details Click on Create record.
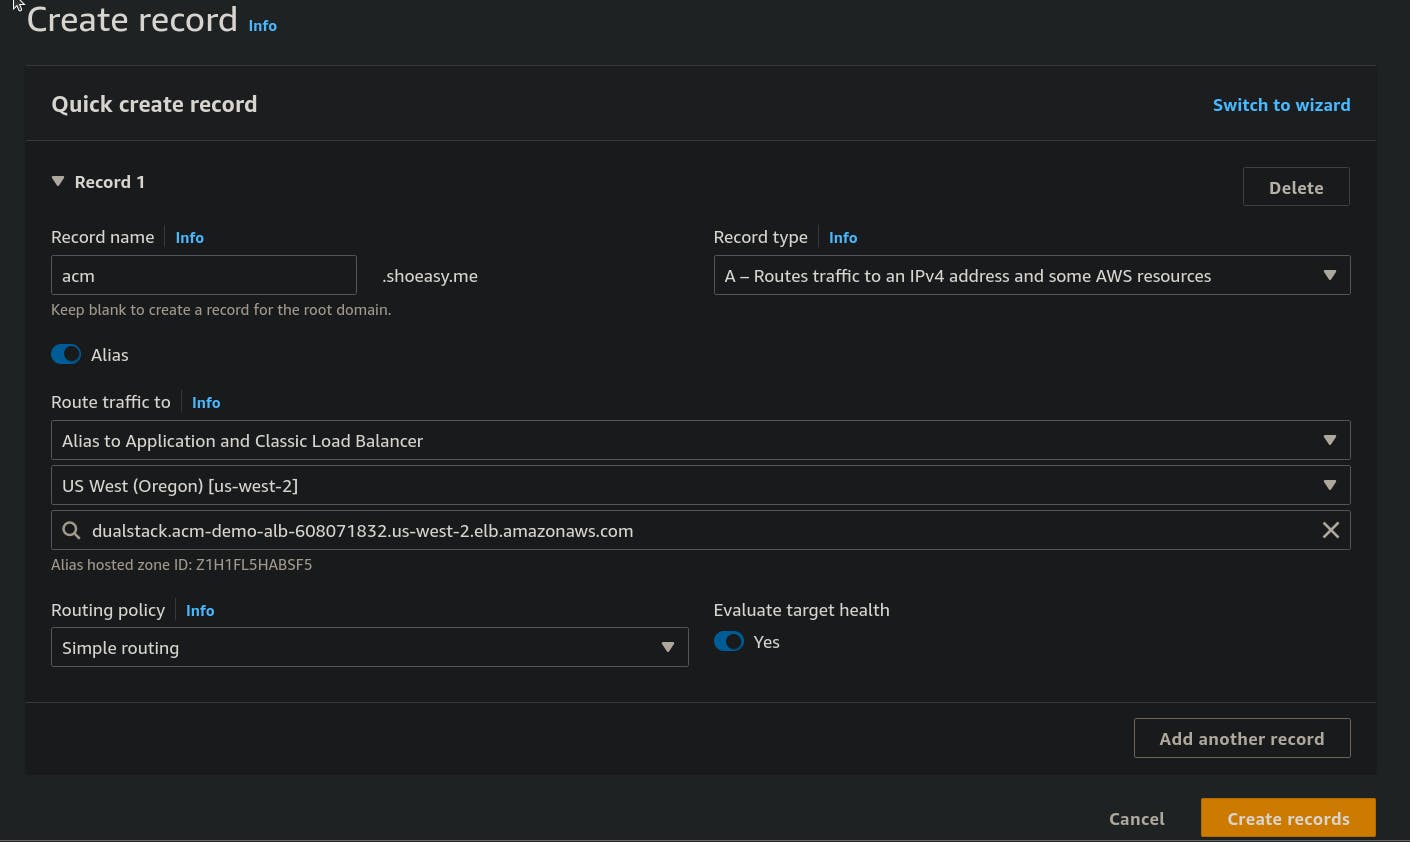
Step 10: Under the Quick create record field give a Record name, select on Alias From Route traffic to select the Alias to Application and Classic Load Balancer and choose the Availability zone same as the Network mapping we selected previously and lastly select the DNS name of our load balancer. and click on Create records.
Step 11: Now copy and paste our domain from Route 53. and paste it on the browser.

- you can see that the site is still insecure

Step 12: From the Dashboard of EC2 > Select the Load balancer > Select the Listeners and click on Add listeners on the right side.

Step 13: Now under the Default actions select Forward to and under Target group select the target group we created earlier, for now, "say acm-demo-TG"

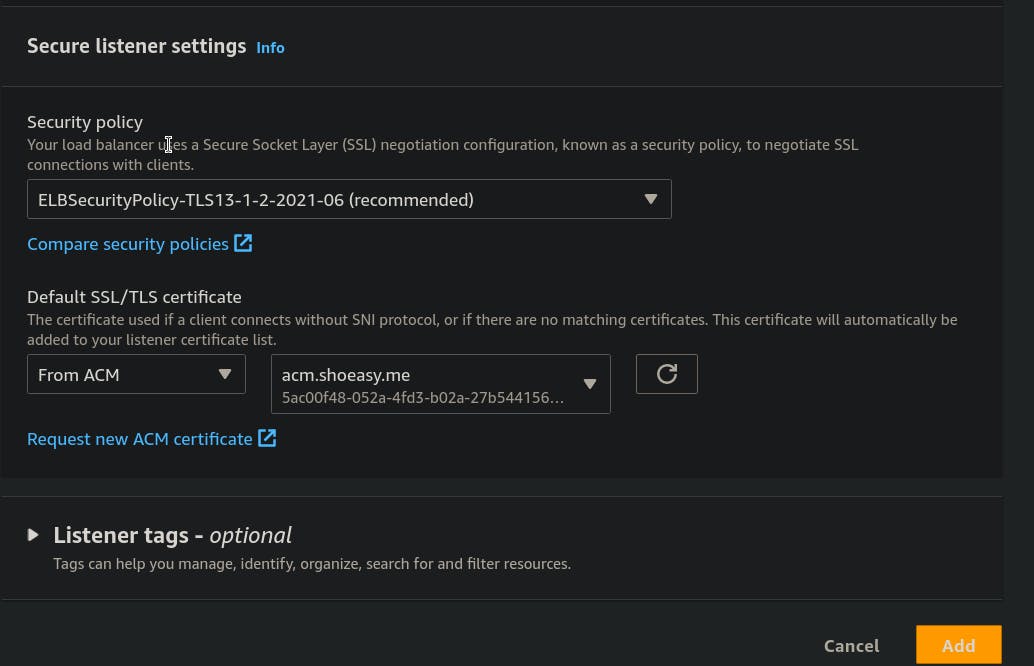
Step 14: Under the Secure Listener settings from Default SSL/TLS certificate Select a certificate.

- After selecting a certificate click on Add.
Step 15: Now paste the domain name in the browser. you can see that it's secure under https but when you enter the domain name with http its renders and it's insecure so we must redirect the http port to https port to make it secure.


Now to redirect the http port into https port we do the following changes.
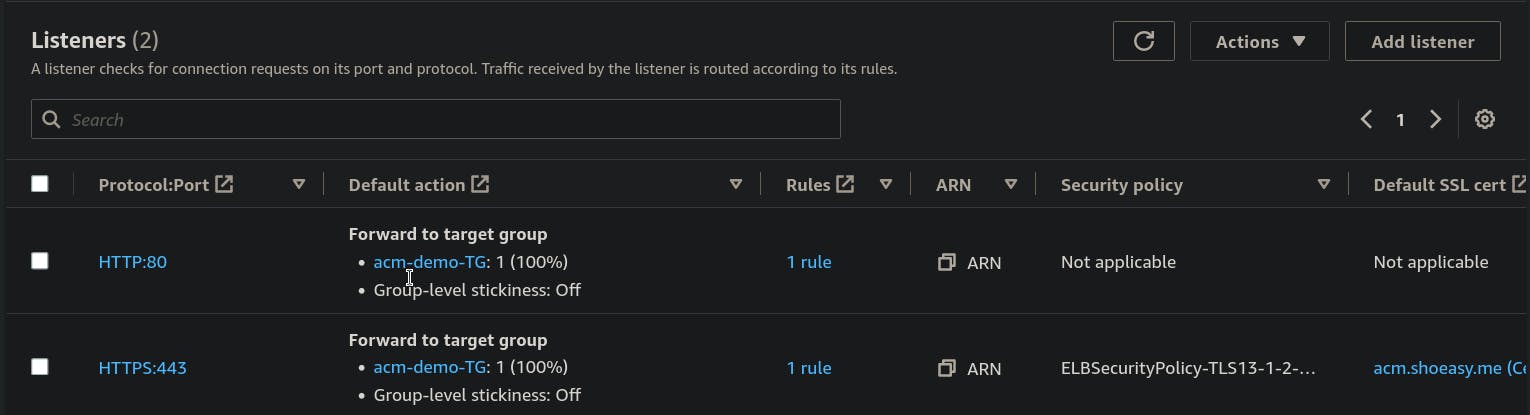
From the Load balancer Select the Listeners and you can see the following two ports.
Step 16: Select the HTTP:80 port and From Action select the Edite listener.

Step 17: Now under Listener details choose the Redirect and enter 443 at Port and Save changes.
- paste the domain name with http


Finally, you have completed the Demostration and you have made your site secure when you even try to open with http it will automatically redirect to https port.
CONGRATULATIONS!!!
Keep Learning...