Connecting Amazon RDS To Visual Studio Code

I'm AWS Certified Solution Architect. I do write about the AWS Cloud Operation, Migration, Security and Automations.
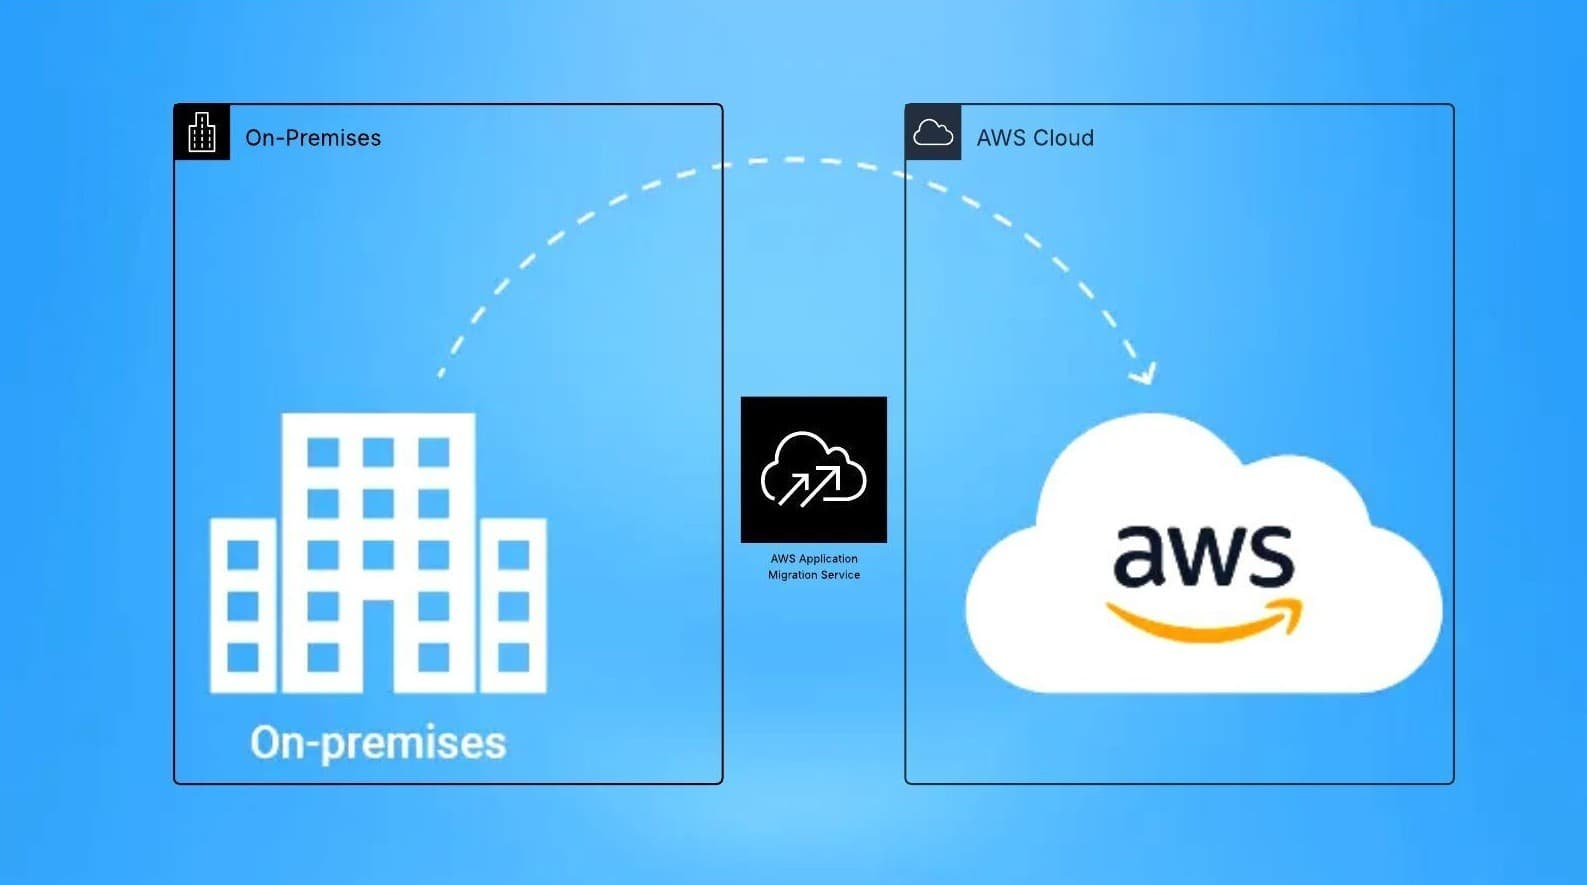
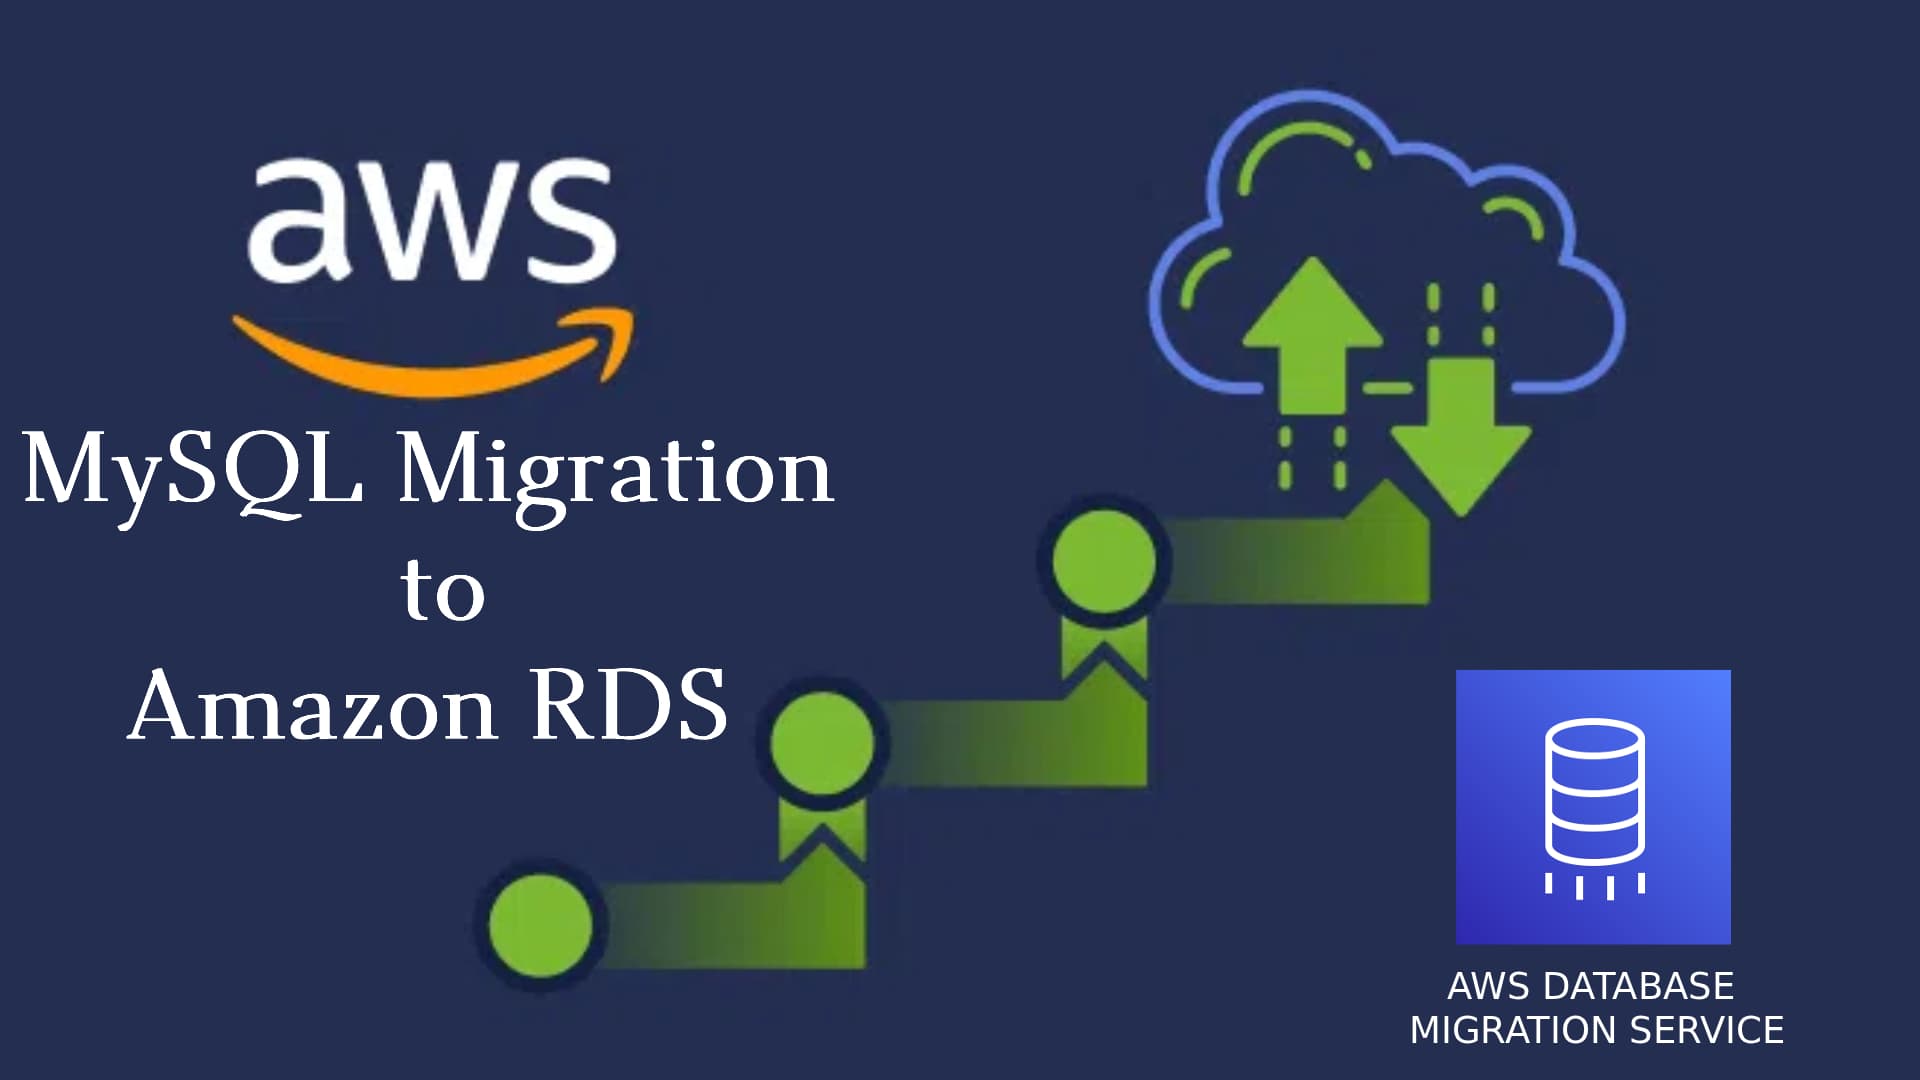
Amazon RDS (Relational Database Service) is a managed database service provided by Amazon Web Services (AWS). It allows you to set up, operate, and scale a relational database in the cloud with ease. RDS supports several popular database engines, including Amazon Aurora, MySQL, PostgreSQL, Oracle, and SQL Server.
Let's Begin the Demonstration
Step 1: Go to the AWS management console, search for RDS and click on it.

Step 2: Click on Create database

- Select the Standard create

Step 3: From the Templates, select the Free tier

Step 4: Select MySQL from the Engine options

Step 5: Under the Settings
Give a name to the database instance identifier
enter the Master username and Password (Note it down, you need to remember this )

Step 6: From the instance configuration, select Burstable classes

Step 7: Under Storage select general purpose SSD(gp2)

Step 8: From the Connectivity,
select Don't connect to an EC2 compute resource.
Select Default VPC, from the Virtual private cloud(VPC)

In the Public access, select yes
Under the VPC security group(firewall), you can choose existing or create new. For now, we create a new one and named it as “sec-group” and also selected “us-east-1a" Availability Zone.

Step 9: Under Database authentication
- Choose Password authentication

- unselect, Enable Enhanced monitoring

Step 10: In the Additional configuration
Give the initial database name. For now say “worlddb” (NOTE the Database Name)
Unselect under Backup and Encryption

Unselect Enable auto minor version upgrade, under Maintenance
Select no preference under Maintenance window

Step 11: Click on Create database

Step 12: You need to have pre-installed SQLTools and SQL Server(mssql)
- below the extensions click on SQLTools

Step 13: From the connections click on Add New Connections icon.

Step 14: Select MySQL

Step 15: From the database under Connectivity and security copy the endpoint address.

Step 16: In the VS code under Connection Settings
Give a name to the connection let’s say: "justconnecting"
in the Server Address: Paste the endpoint address.
Enter the database name, that you have created in the AWS RDS as “initial database” and noted down.
Enter the database Master username,

- Click on TEST CONNECTION

- Click on Allow

- Enter the Master Password that you have noted down.

- You should be able to see the Sucessfully connected Messagae. And click on SAVE CONNECTION

- Click on CONNECT NOW

- Now, you should be able to see the connections and Database below CONNECTIONS

Now click on the New SQL File on the right side on connetions
Enter the below query
  use worlddb;
  CREATE TABLE student(
      Id int,
      Name VARCHAR(20)
      );
  INSERT INTO student(Id, Name)
  VALUES(1, 'Abi'),
  (2, 'Gaurav');

  SELECT * FROM student;
Run the query using pressing CTRL+ E+E

CONGRATULATIONS!!!
You have successfully connected the AWS RDS to your Visual Studio Code.