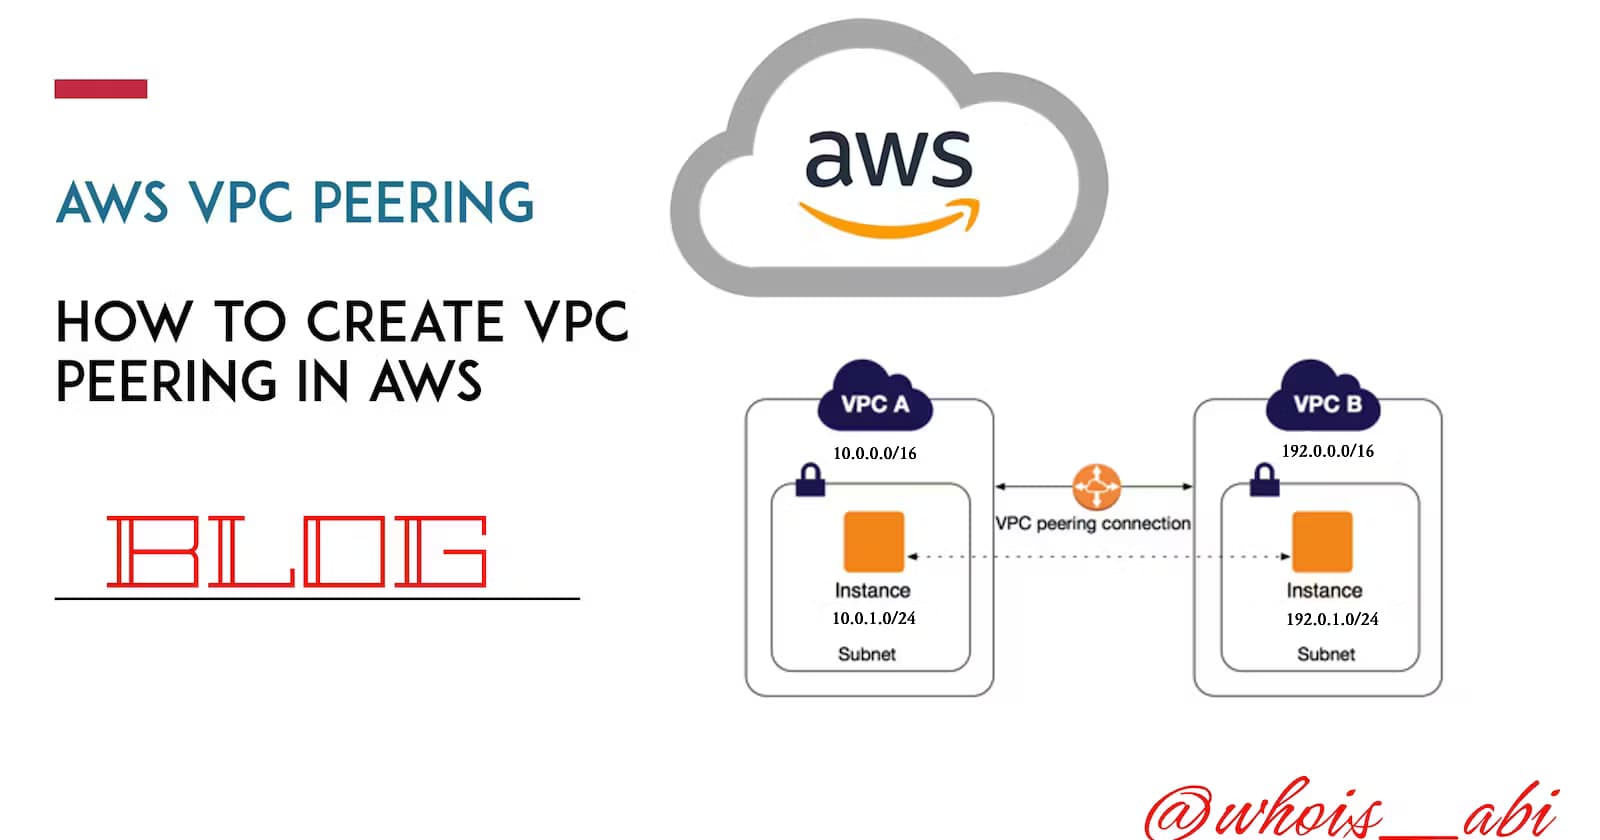
Demonstration of VPC Peering.
I'm AWS Certified Solution Architect. I do write about the AWS Cloud Operation, Migration, Security and Automations.
VPC peering is a valuable networking connection that enables two distinct VPCs to securely share resources creating the illusion of being on the same network.
This capability is crucial as it provides a cost-effective solution for resource sharing between multiple VPCs located in the same or different regions eliminating the need for internet gateways. Additionally, by not relying on public IP addresses or internet access VPC peering enhances security measures.
Let's begin the Demonstration.
Step 1: Go to the AWS management console search for VPC, and click on it.

Step 2: Click on Create VPC.

Step 3: From VPC settings
select VPC only
Enter the name of VPC. For now, say “my-vpc1"
Enter IPv4 CIDR 10.0.0.0 /16
Click on Create VPC


Step 4: From the Dashboard, select Subnets

- click on Create subnet

Step 5: From VPC ID select “my-vpc1"

Give a name to the subnet. For now let’s say, “subnet01”
Select an Availability zone: "us-east-1a"
Enter the CIDR block say, 10.0.1.0/24
Click on Create subnet.

Step 6: From the Dashboard, Select Internet gateway

- click on Create Internet gateway

Step 7: In the Internet gateway settings
give a Name tag, let’s say "internet-gateway"
click on Create Internet gateway

Step 8: On the top, you can see the “Attach to a VPC” message, Click on it or you can attach it from the Action.


Step 9: We will create another VPC. From the dashboard, Select “Your VPCs”

- Click on Create VPC

under VPC Settings, Select VPC only
Enter the IPv4 CIDR block say, 192.0.0.0/16
Click on Create VPC.

Step 10: From the dashboard select Subnets, click on Create subnet
- under VPC ID select “my-vpc2"

Give a name to the subnet. For now let’s say, “subnet2”
select an Availability zone say, "us-east-1a"
Enter the CIDR block say, 192.0.1.0/24
Click on Create subnet

Step 11: From the dashboard, select “Peering connections”

- click on Create peering connection

Step 12: In peering connection settings
give a name to the connection say, “my-connection"
Select “my-vpc1” In the VPC ID (Requester)
Select “my-vpc2” in the VPC ID (Accepter)


- click on Create peering connection

step 13: Now you can see Actions in “my-connection"
- Click on it and Accept request


Step 13: From the dashboard, Select "Route tables"

step 15: In the Route table settings
Give a name say, “routeTable1”
Select “my-vpc1"

- Click on Create route table

step 16: Select “routeTable1”, from the Route tables.

Click on Routes
click on Edit routes

click on Add route
under Destination enter 0.0.0.0/16 and select the Internet gateway in Target.
Similarly, add 192.0.0.0/16 in Destination and select Peering connections
Click on Save changes

Step 17: Select the Subnet associations

click on Edit subnet associations
select the "subnet01"
click on Save associations.

Step 18: we need to create another route table. so, from the dashboard, Select Route table. Under route table settings
Give a name to the table say, "routeTable2"
select the second VPC created, “my-vpc2”
Click on Create route table

Step 19: Select the routeTable2
click on Routes
click on Edit routes

click on Add route
enter 10.0.0.0/16 in the Destination and select pairing connections in the target.
click on Save associations

click on the Subnet associations
click on Edit subnet associations

select the subnet2
click on Save associations.

Step 20: From the AWS management console, Search EC2 and click on it.

Step 21: Click on Launch instance

Step 22: Give a name to the instance, say "myserver1"

- select the existing key pair or create a new key pair

Step 23: in the network settings, click on Edit

Select your first VPC, “my-vpc1”
select the subnet, “subnet01”
“Enable”, Auto-assign public IP
Leave the other setting as the default

step 24: Click on launch instance

step 25: We will create another instance named “myserver2”

- select the Key pair (login)

Step 26: In the network settings, click on Edit
select the second VPC created, “my-vpc2"
select the subnet, “subnet2”
Disable, Auto-assign public IP

Under Firewall(security groups), Select the create security group
You can give the name of the Security group and Description or leave it as the default
In the inbound security groups rules
Under Type select “All traffic” or “All ICMP” and under Source type select “Anywhere”

Step 27: Click on Launch instance

- From the Instance summary of “myserver2”, Copy the Private IPv4 addresses

Step 28: In the Instances, you can see the two servers running
select the “myserver1”
Click on Connect, on the right side of the instances.

Select the EC2 Instance Connect
Click on Connect.

Step 29: Ping the my-server2 private IP address.
ping <private ip addresses>
Step 30: you should see the following output.

Congratulations!!!
You have completed the Demonstration of VPC Peering.